The aim of this document is to describe our CICD pipeline and our release process.
1. Pipeline Configuration
This section briefly describes the organization of our CICD pipeline.
Most of the access and permissions required by our CICD plateform are managed by tokens that are created on each of the required services (SonarCloud, DockerHub, GitHub). A technical user account (opfabtech) has been created for each of these services so that these tokens are not linked to the account of any member of the team.
1.1. CICD Pipeline
1.1.1. Github Actions
We use github Actions to manage our pipeline (github.com/opfab/operatorfabric-core/actions).
1.1.2. SonarCloud
To be allowed to push results to SonarCloud, github needs to be authenticated. This is done by generating a token on SonarCloud with an account (opfabtech) that has admin rights to the organization, and then providing this token to github using actions secrets .
1.1.3. GitHub (documentation)
To be allowed to push the generated documentation to the opfab.github.io, Github needs write access to the repository. This is done by setting up a Personal Access Token in GitHub using the technical account. This token is then passed to Github using actions secrets .
| After new content is pushed to the opfab.github.io repository, it can take a few minutes before this content is visible on the website because it needs to be built by GitHub pages, and this can take a short while depending on how busy the service is. |
1.1.4. DockerHub
To be allowed to push images to DockerHub, Github needs to be authenticated. This is done again by generating a token in DockerHub using the technical account and provide it to github via actions secrets.
1.1.5. Sonatype
We use Sonatype accounts to be able to push libraries to maven central. The list of people authorized to publish is defined via issues : issues.sonatype.org/browse/OSSRH-67392
2. Release process
2.1. Version numbers
We work with three types of versions:
-
X.Y.Z.RELEASE versions are stable versions
-
X.Y.Z-RC.RELEASE versions are release candidates for the next stable version
-
SNAPSHOT version represents the current state of merged developments
Version numbers for X.Y.Z.RELEASE should be understood like this:
-
X: Major version, a major version adds new features and breaks compatibility with previous major and minor versions.
-
Y: Minor version, a minor version adds new features and does not break compatibility with previous minor versions for the same major version.
-
Z: Patch, a patch version only contains bug fixes of current minor version
2.2. Releasing a Release Candidate
Before releasing a version, you need to prepare the release.
2.2.1. Creating a release branch and preparing the release candidate
-
On the operatorfabric-core repository, create a branch off the
developbranch namedX.X.releaseif it does not exist (note the lowercasereleaseto distinguish it fromX.X.X.RELEASEtags).git checkout -b X.X.release git push --set-upstream origin X.X.release
Create a working branch for the release candidate. This branch will be used to prepare the release candidate :
git checkout -b FE-X.X.X-RC.release.draft
-
Use the ./CICD/prepare_release_version.sh script to automatically perform all the necessary changes:
./CICD/prepare_release_version.sh -v X.X.X-RC.RELEASE
You should get the following output:
Current version is SNAPSHOT (based on VERSION file)
Preparing X.X.X-RC.RELEASE
Updating version for pipeline in VERSION file
Replacing SNAPSHOT with X.X.X-RC.RELEASE in swagger.yaml files
Using X.X.X-RC.RELEASE for lfeoperatorfabric images in dev and docker environment docker-compose files
The following files have been updated:
 M VERSION
 M config/dev/docker-compose.yml
 M config/docker/docker-compose.yml
 M services/cards-publication/src/main/modeling/swagger.yaml
 M services/businessconfig/src/main/modeling/swagger.yaml
 M services/users/src/main/modeling/swagger.yaml
This script performs the following changes:
-
Replace SNAPSHOT with X.X.X-RC.RELEASE in swagger.yaml files and the VERSION file at the root operator-fabric folder
-
Change the version from SNAPSHOT to X.X.X-RC.RELEASE in the docker-compose files for dev and docker deployments
-
-
Commit the changes with the template message:
git add .
git commit -s -m "[RELEASE] X.X.X-RC.RELEASE"
-
Push the commit
git push --set-upstream origin X.X.X-RC.release.draft
-
Create a pull request from the
X.X.X-RC.release.draftbranch to theX.X.releasebranch and ask for a review. -
Once the pull request is approved and merge, create the tag for the release candidate:
git checkout X.X.release
git pull
git tag X.X.X-RC.RELEASE
git push origin X.X.X-RC.RELEASE
2.2.2. Publish the release candidate on docker hub and documentation
If the build and tests are successful, launch manually GitHubActions with jobs : Build , Docker Push and Build and publish documentation
2.2.3. Publishing the jars for the client library to Maven Central
Once everything else looks ok, you can publish the jars for the client library to MavenCentral. This is done as a last step once we are pretty sure we won’t need to go back and change things on the release because jars are not meant to be removed from Maven Central once they are published (even briefly), and it’s not something that could be managed by the project.
To do so:
-
Set the appropriate properties (credentials and GPG key information) as described in the documentation for the publishing task
-
Run the following command from the project root on the release branch:
./gradlew publish
-
After a while you should be prompted to enter the passphrase for the GPG key.
-
Once the task has completed, log in to the OSSRH Repository using the same credentials as for the Sonatype JIRA.
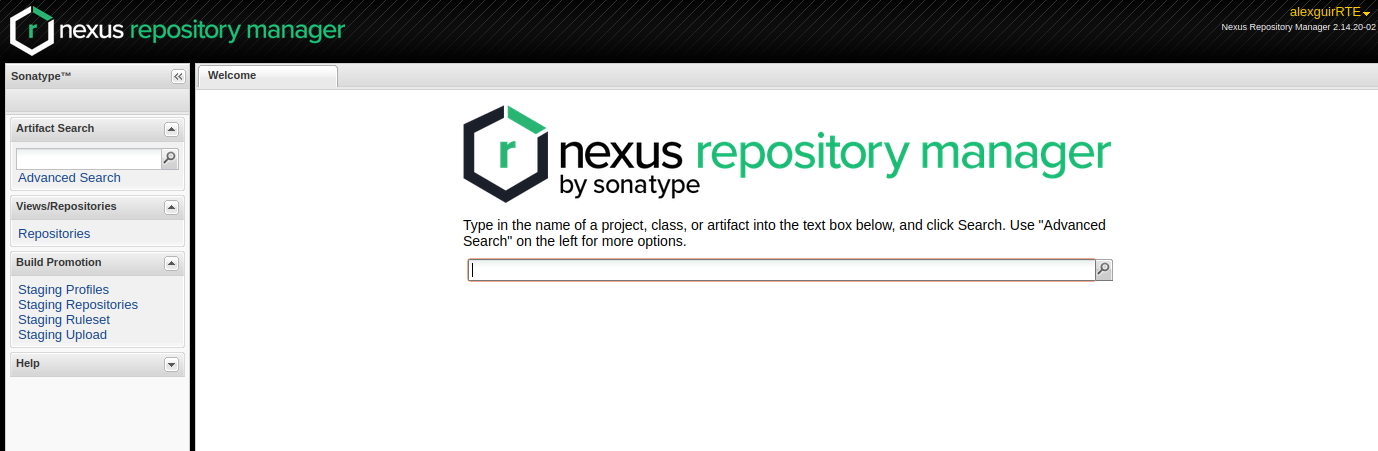
-
Click on
Staging repositorieslink on the left. After a while (and maybe after clicking the refresh button), you should see a repository with the name orgopfab-XXXX (where XXXX is a Sonatype-generated id, not related to the release number).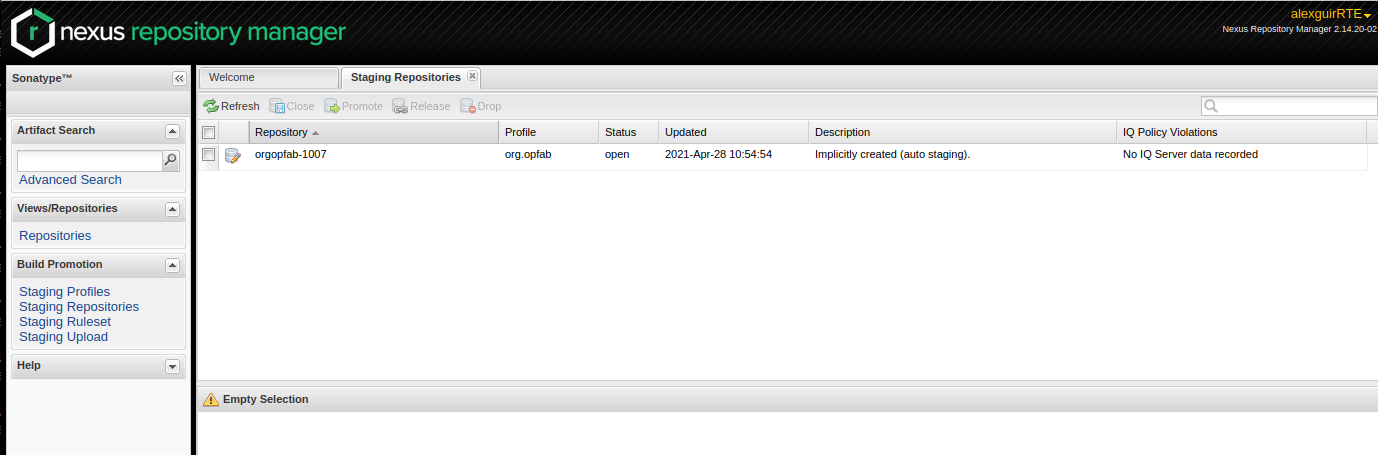
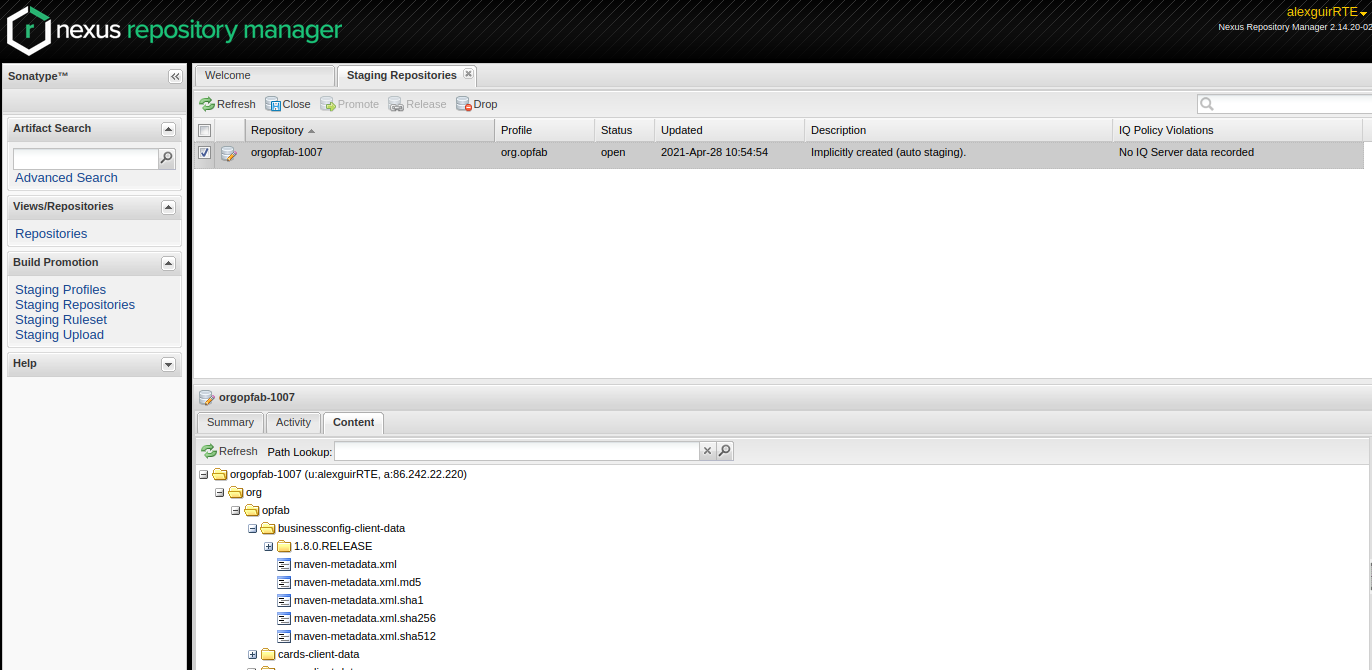
-
Click on the repository then on the "content" tab below to check its content and metadata.
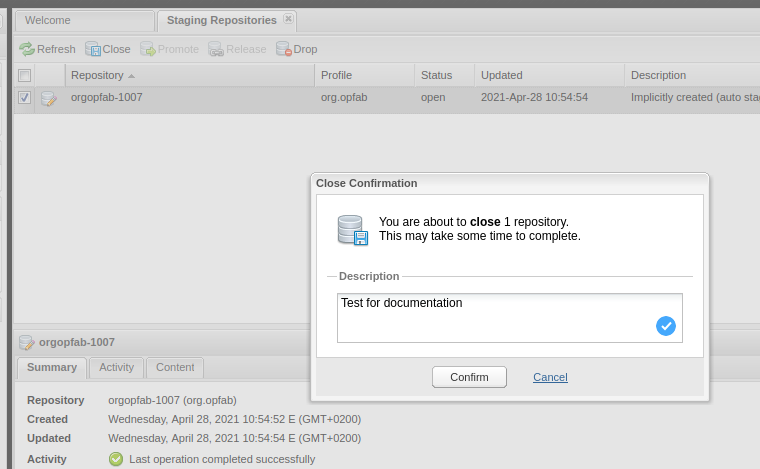
-
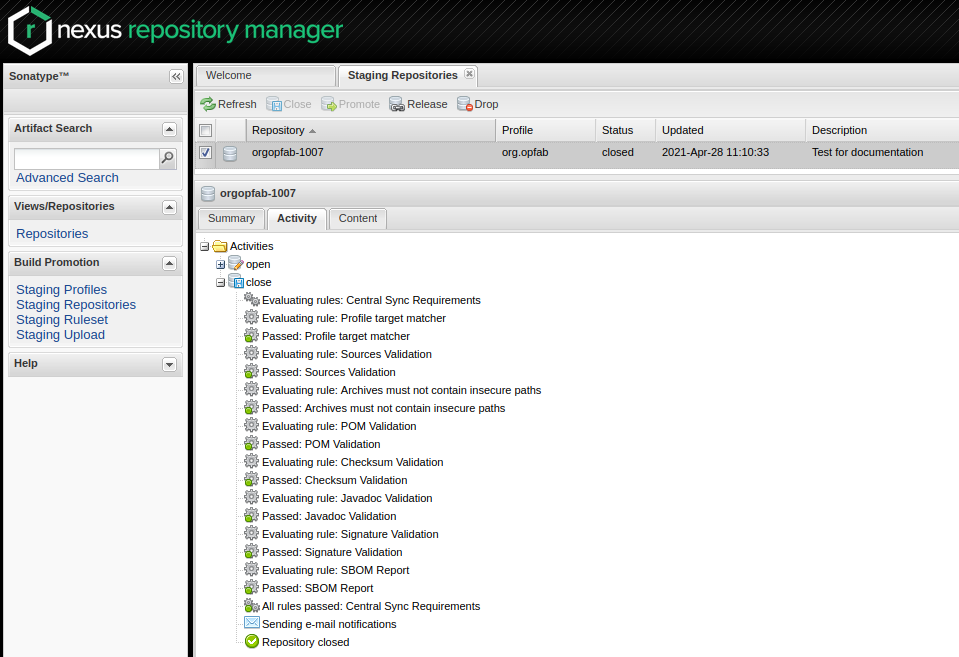
If there is an issue with the repository, click on the "Drop" button and start the process again after making the necessary changes. If everything looks in order, click on the "Close" button and add a small comment when prompted to confirm.
-
This will trigger validation of the Sonatype requirements (for example, making sure that the pom file contains the required information), as you can see from the Activity tab below (Refresh might be needed).
-
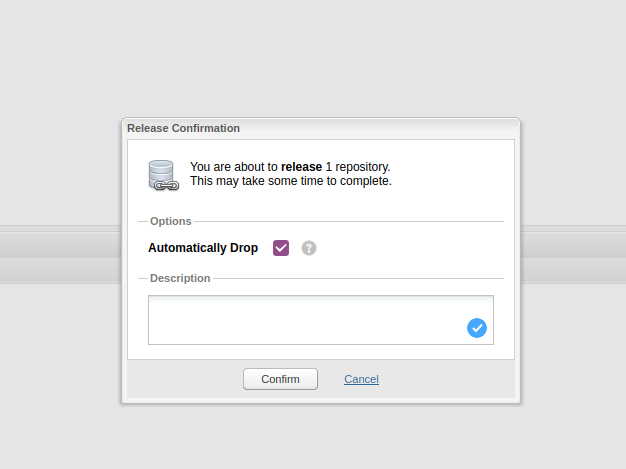
If all the validations pass, the "Release" button will become available. Click it to send the jars to Maven Central. When prompted, write a comment then confirm (keeping the "Automatically Drop" option checked).
-
The jars for the release should then be available on the project space in the Maven repository within 10 minutes.
-
It can take up to two hours for them to appear on the Maven Central Repository Search and up to one day for MvnRepository
2.2.4. Publishing the release on GitHub
-
On the
releasesscreen for the core repository, draft a new release.-
Select the existing X.X.X-RC.RELEASE tag
-
The title should be X.X.X-RC.RELEASE
-
In the description field, paste the content from the release_notes_X.X.X.md file from the release-notes repository.
-
Reformat and correct the content as needed.
-
Check if there is a migration guide for this version, if so, check if the corresponding file has been included in src/docs/asciidoc/resources/index.adoc and include a link to it at the top of the release notes.
-
Click "Publish release"
-
-
Create a new release_notes.Y.Y.Y.md file with next version number.
2.2.5. Updating the version list on the website
On the website repository, edit the /_data/versions.yml file to add the version being released
For example:
- id: SNAPSHOT
  type: SNAPSHOT
  external_devices_api: true
- id: D.E.F.RELEASE
  badge: current
  external_devices_api: true
- id: A.B.C.RELEASE
#... end of file omitted- id: SNAPSHOT
type: SNAPSHOT
external_devices_api: true
- id: X.X.X-RC.RELEASE
external_devices_api: true
badge: current
- id: D.E.F.RELEASE
external_devices_api: true
- id: A.B.C.RELEASE
#... end of file omittedThis file determines which versions (and in which order) are displayed on the release page of the website.
Check that you see the X.X.X-RC.RELEASE under the releases page and that the links work (It may need a few minutes for the website to be updated).
The external_devices_api property should be set to true for all new versions, so the API documentation for
the External Devices API is displayed on the website.
|
2.2.6. Advertising the new release
-
Advertising on the LFE mailing list via an email to the opfab-announce@lists.lfenergy.org mailing list with a link to the release notes on GitHub.
| Here is the link to the administration website for the LFE mailing lists in case there is an issue. |
-
Send a message on operator-fabric slack channel.
2.3. Releasing a Major or Minor Version
Before releasing a version, you need to prepare the release.
2.3.1. Move Release Candidate to Release
-
Create a branch to prepare the release from the release candidate branch:
git checkout X.X.release
git checkout -b X.X.X.release.draft
-
Use the ./CICD/prepare_release_version.sh script to automatically perform all the necessary changes:
./CICD/prepare_release_version.sh -v X.X.X.RELEASE
You should get the following output:
Current version is SNAPSHOT (based on VERSION file)
Preparing X.X.X.RELEASE
Updating version for pipeline in VERSION file
Replacing SNAPSHOT with X.X.X.RELEASE in swagger.yaml files
Using X.X.X.RELEASE for lfeoperatorfabric images in dev and docker environment docker-compose files
The following files have been updated:
 M VERSION
 M config/dev/docker-compose.yml
 M config/docker/docker-compose.yml
 M services/cards-publication/src/main/modeling/swagger.yaml
 M services/businessconfig/src/main/modeling/swagger.yaml
 M services/users/src/main/modeling/swagger.yaml
This script performs the following changes:
-
Replace SNAPSHOT with X.X.X.RELEASE in swagger.yaml files and the VERSION file at the root operator-fabric folder
-
Change the version from SNAPSHOT to X.X.X.RELEASE in the docker-compose files for dev and docker deployments
-
-
Commit the changes with the template message:
git add .
git commit -s -m "[RELEASE] X.X.X.RELEASE"
-
Push the commit
git push --set-upstream origin X.X.X.release.draft
-
Create a pull request from the 'X.X.X.release.draft` branch to the
X.X.releasebranch and ask for a review. -
Once the pull request is approved and merge, create the tag for the release candidate:
git checkout X.X.release
git pull
git tag X.X.X.RELEASE
git push origin X.X.X.RELEASE
2.3.2. Publish the release on docker hub and documentation
Once the release branch build is passing, you should trigger the CICD tasks associated with a release (Docker images for DockerHub and documentation).
To do so , go to Github Actions. and launch the workflow on X.X.release branch with the following options : - Build : true - Karate tests : false - Cypress tests : false - Build and publish documentation : true - Build and publish documentation - Latest : true if it is the last major/minor version - Docker Push : true - Docker Push - Latest : true if it is the last major/minor version
Wait for the build to complete and check that all jobs have been successful.
-
Check that the
X.X.X.RELEASEimages have been generated and pushed to DockerHub. -
Check that the
latestimages have been updated on DockerHub (if this has been triggered). -
Check that the documentation has been generated and pushed to the GitHub pages website : check the version and revision date at the top of the documents in the current documentation (for example the architecture documentation)
-
Check that the tag was correctly pushed to GitHub and is visible under the tags page for the repository.
2.3.3. Updating the version list on the website
On the website repository, edit the /_data/versions.yml file to:
-
Add the version being released to the list with the
currentbadge -
Remove the
currentbadge from the previous version
For example:
- id: SNAPSHOT
  type: SNAPSHOT
  external_devices_api: true
- id: D.E.F.RELEASE
  badge: current
  external_devices_api: true
- id: A.B.C.RELEASE
#... end of file omitted- id: SNAPSHOT
type: SNAPSHOT
external_devices_api: true
- id: X.X.X.RELEASE
badge: current
external_devices_api: true
- id: D.E.F.RELEASE
external_devices_api: true
- id: A.B.C.RELEASE
#... end of file omittedThis file determines which versions (and in which order) are displayed on the release page of the website.
Check that you see the X.X.X.RELEASE under the releases page and that the links work (It may need a few minutes for the website to be updated).
The external_devices_api property should be set to true for all new versions, so the API documentation for
the External Devices API is displayed on the website.
|
2.3.4. Checking the docker-compose files
While the docker-compose files should always point to the SNAPSHOT images while on the develop branch, on the X.X.release
branch they should rely on the latest RELEASE version available on DockerHub. Once the CI pipeline triggered by the
previous steps has completed successfully, and you can see X.X.X.RELEASE images for all services on DockerHub, you should:
-
Remove your locally built X.X.X.RELEASE images if any
-
Run the config/docker docker-compose file to make sure it pulls the images from DockerHub and behaves as intended.
People who want to experiment with OperatorFabric are pointed to this docker-compose so it’s important to make sure that it’s working correctly.
2.3.5. Publishing the jars for the client library to Maven Central
Like for release candidate , you need to release the client library jars.
2.3.6. Publishing the release on GitHub
-
On the
releasesscreen for the core repository, draft a new release.-
Select the existing X.X.X.RELEASE tag
-
The title should be X.X.X.RELEASE
-
In the description field, paste the content from the release_notes_X.X.X.md file from the release-notes repository.
-
Reformat and correct the content as needed.
-
Check if there is a migration guide for this version, if so, check if the corresponding file has been included in src/docs/asciidoc/resources/index.adoc and include a link to it at the top of the release notes.
-
Click "Publish release"
-
2.3.7. Update supported versions
Update supported version in security policy (SECURITY.md file) via a Pull Request on develop branch
2.3.8. Advertising the new release
-
Advertising on the LFE mailing list via an email to the opfab-announce@lists.lfenergy.org mailing list with a link to the release notes on GitHub.
| Here is the link to the administration website for the LFE mailing lists in case there is an issue. |
-
Send a message on operator-fabric slack channel.
2.4. Releasing a Patch Version
Let’s say fixes that will be released as X.X.X.RELEASE.
Follow the process described
here
to create feature branches, work on fixes and merge them back into X.X.release.
Once all the big fixes that need to go into the version X.X.X.RELEASE have been merged into branch X.X.release, you
can release the patch version. To do so:
Create a branch to prepare the release from the release branch:
git pull X.X.release
git checkout X.X.release
git checkout -b X.X.X.release.draft-
Use the ./CICD/prepare_release_version.sh script to automatically perform all the necessary changes:
./CICD/prepare_release_version.sh -v X.X.X.RELEASE
-
Commit the changes and push to GitHub:
git add .
git commit -m "[RELEASE] X.X.X.RELEASE "
git push --set-upstream origin X.X.X.release.draft
-
Create a pull request from the 'X.X.X.release.draft` branch to the
X.X.releasebranch and ask for a review. -
Once the pull request is approved and merge, create the tag for the release candidate:
git checkout X.X.release
git pull
git tag X.X.X.RELEASE
git push origin X.X.X.RELEASE
You then have to follow the following steps as for a classic release: